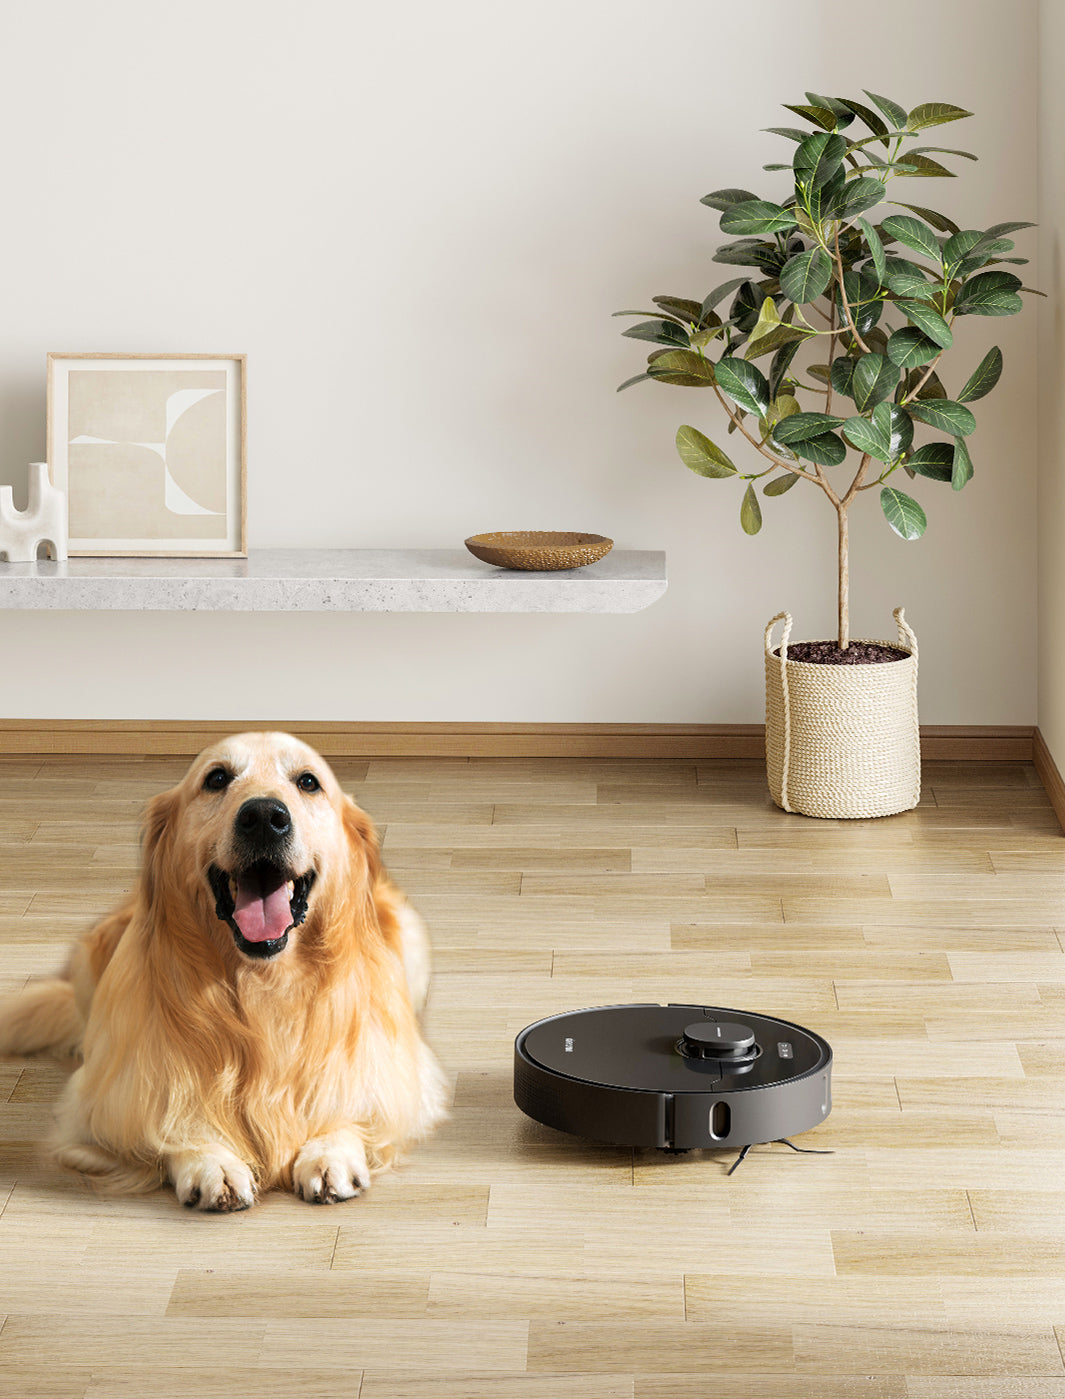
It is essential to know some ways to solve common vacuum cleaner problems. Read on to find out common vacuum cleaner problems and various ways to solve them.
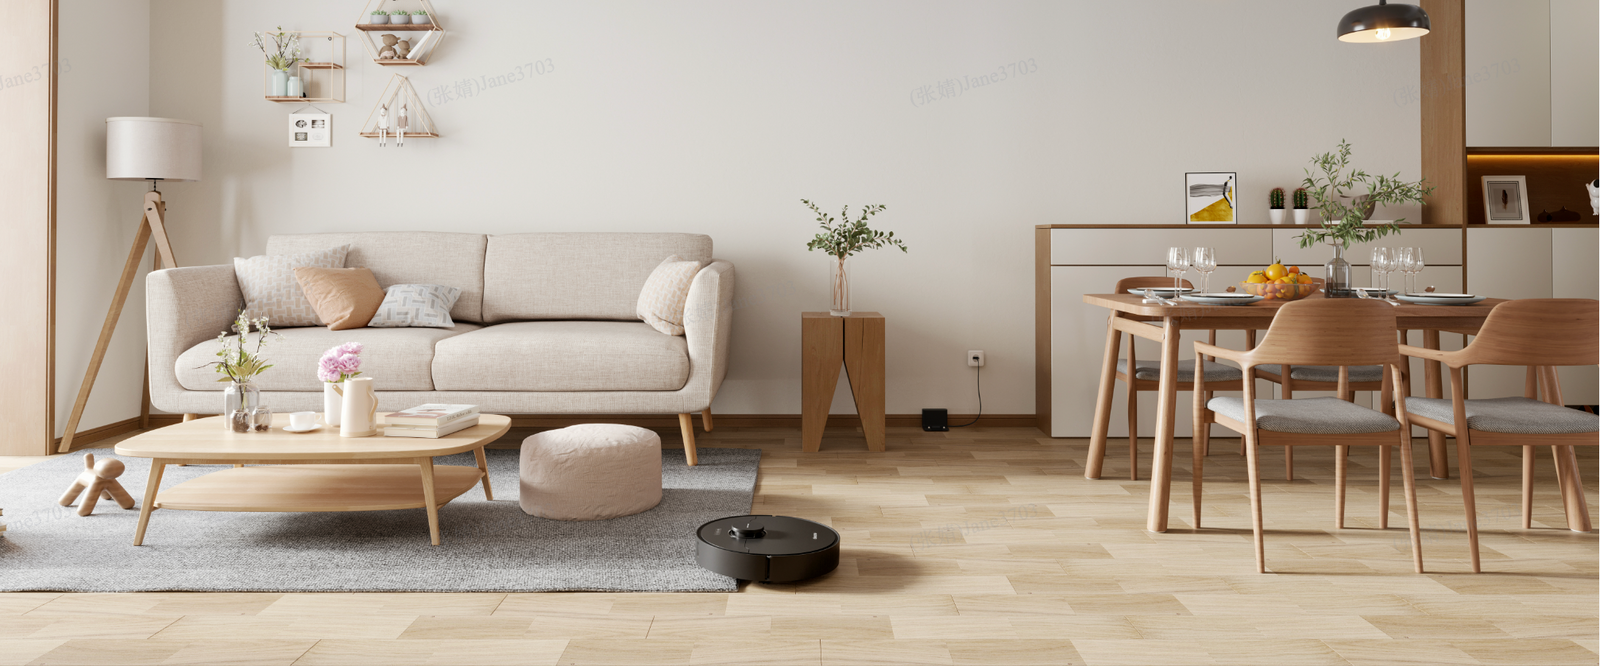
Do you know what things you should avoid when using your vacuum cleaner? This guide answers this question and what precautions should you take when vacuuming the floor.
Using a vacuum cleaner correctly is vital to prevent accidents and ensure proper cleaning. Check out to know some important tips to make cleaning easy and safe.
One of the main issues when it comes to vacuum equipment is vacuum storage, especially if you have limited space at home. This is the reason why it is often important to consider storage options before you buy large or bulky items like vacuum cleaners, especially since this type of equipment is a necessity in most homes and apartments.
Read on to know about the different storage options and how to find flexible storage solutions for the vacuum cleaner you have in your apartment.
Things to Consider When Looking for Vacuum Cleaning Storage Space
The Layout of the Apartment
Live in a small space with limited storage options? You may be hard-pressed to find ample storage space for your vacuum especially if you don't have a broom closet or even a laundry area that can double as storage space for cleaning supplies.
One option is to create wall hangers where you can hang cleaning equipment as well as supplies. If you are working with large, ample space creating a nook or corner for cleaning supplies will be easier to do.
Frequency of Cleaning
You want your vacuum and other cleaning equipment to be easy to take in and out especially if you clean multiple times a week. This means finding a space that is easily accessible. A broom closet, the shoe closet, or under the sink are good options for vacuum storage if you clean frequently.
Size of Vacuum
The size of your vacuum also determines what kind of storage space will work for you. Handheld portable units are by far the easiest to store since they can be small enough to stow inside a desk drawer or hang on a coatrack.
If you have a bigger unit like a canister vacuum, you can store your equipment in an empty corner, in the closet, or even under furniture like your bed or the couch. You open up more storage options if you disassemble your vacuum after each use so it is easier to stow away.
Different Types of Vacuum Cleaner Storage Ideas
Robot Vacuum
Most robot vacuums are small and relatively portable, without the lengthy cords and metal handles that characterize older vacuum models. This means that they are easier to park in spaces that are out of the way, such as under your work desk or the couch when not in use.
The Dreame D9 comes with a sleek charging station as well as LIDAR-based navigating technology which allows it to park itself after use, a pretty nifty feature when you are too busy to store your vacuum after it is done cleaning.
Most robot vacuums come packaged with their own charging ports which can easily be installed behind any door or the sofa as long as these places allow for ample movement when you need to charge the vacuum.
Handheld Vacuum
Handheld cleaners are the most portable models of vacuum cleaners and they vary in size, from small cleaners that fit the palm of your hand for easy desktop cleanup to larger handheld types for cleaning the couch or car interiors. These cleaners may come with charging ports that you can install on a wall or they can be hung on a rack in your broom closet.
Don't have a broom closet? You can store your handheld vacuum and its accessories inside your shoe rack, in the coat closet, or on the rack where you store other cleaning equipment.
You can also store it under the sink as long as the space is dry. You can even hang it on your tool rack in the garage. All these are good options for keeping your vacuum in a place that is easy to find and reach.
Canister Vacuum
Canister vacuums are bigger than handheld vacuums in size and capacity. They come with a variety of accessories for different types of cleaning. While they are the most practical for those who want to cover the most amount of cleaning space in the least amount of time, canister vacuums tend to be tall and bulky.
Many users prefer to slip canister vacuums behind a door where they can stay out of sight. Other options include the good old storage or broom closet, the laundry room or mudroom, or even a spare room.
If you have very limited space and this is the vacuum you have at home, you can also slide the vacuum under a sofa or the bed. These vacuums tend to have two rolling wheels which can make sliding furniture for cleaning and storage easy to do. This is a good option if you are living in a small studio or one-bedroom and don't have free closet space for a bulky canister vacuum.
Cordless Vacuum
Cordless vacuum cleaners tend to resemble canister vacuums but they are often smaller in size and they do not need to be tethered to an electrical cord. However, this doesn't mean that they are any less powerful than canister-vacuum cleaners.
The lack of an electric cord makes cordless vacuum cleaners more flexible to use especially if you want to move quickly from room to room. Cordless vacuums may require the same amount of space as canister vacuums, however. This means you may need an empty corner, space in your broom closet or laundry room, or even an unused corner in your closet.
You can also store your cordless vacuum on wall-mounted storage. Cordless vacuums like the Dreame V11 come with a wall-mounted docking station that doubles as storage when the tool is not in use. Install the dock near the closet, on a corner in a low-traffic area, or any place where it can be out of the way but still within easy reach.
Upright Vacuum
Upright vacuum models are one of the most powerful types of vacuum cleaners but they are also bigger and bulkier. An upright vacuum cleaner is good if you have a dedicated storage room for cleaning equipment or a spacious laundry or mudroom where you can store cleaning equipment and accessories.
Vacuum cleaners come in a range of uses and sizes. Depending on the type of vacuum cleaner you have, you may need to get creative in making more space for your cleaning equipment. Move items around to make more space inside closets, hang racks for portable handheld vacuums, or use empty spaces under couches or beds. With a little bit of ingenuity, you can store your vacuum cleaner safely while keeping it easily accessible for regular use.
Vinyl plank flooring is surprisingly easy to clean whether you are using basic cleaning solutions or you are using sophisticated cleaning technology like the best robot vacuum for vinyl plank floors.
Vinyl plank flooring is incredibly low-maintenance which makes it a great flooring option for virtually any area of the house. The key to taking care of vinyl plank flooring is to know how you can prevent long-term damage in the first place and what the best methods are for regular maintenance.
Read on to know how you can do all these especially if you want your vinyl wood plank flooring to last for many years.
How to Prevent Damage for Vinyl Plank Flooring
While vinyl plank floors will show signs of age and wear over time, you can push this back by ensuring that your vinyl flooring is installed in the right way.
Vinyl flooring is very easy to install but you still need to make sure that installation was done according to manufacturer instructions. Otherwise, you run the risk of warping planks, uneven planks, and other defects that could lead to faster wear and tear. Start off by using the right adhesive, rolling the floor to help achieve a flat and even finish, and using protective window treatments to protect your floors from harsh sunlight.
Use Proper Adhesive
You can run into problems like buckling if your planks are not laid down properly. Using the right adhesive ensures that your vinyl plank flooring stays tight on the floor on all sides. It is also important to know what kind of flooring requires an adhesive. If you are working with glue-down vinyl planks or loose lay vinyl, you will need floor adhesive to secure the planks on the floor base.
Adhesives for vinyl flooring are often acrylic-based which are also resin-based. These are very strong and suited for strong bonding with different types of surfaces. These adhesives are sun-resistant, and can withstand regular changes in temperature, and are not easily affected by moisture. For best results, it is best to check the manufacturer's instructions on what kind of glue is suitable for your type of vinyl plank floors.
Roll the Floor
One crucial element during installation is the proper rolling of the vinyl plank flooring. Use a 100-pound roller to roll the floor after laying down the flooring with adhesive. Using this rolling weight will help secure and flatten all areas of the vinyl planks and prevent buckling over time.
Avoid Direct Sunlight
Vinyl flooring keeps its luster and color over time but direct exposure to sunlight can accelerate the process of wear. Direct sun can also strip the floors of color and shine. You can keep your vinyl floors new and shiny by protecting them from direct sunlight.
Window treatments such as blinds or curtains offer effective protection against harsh sunlight. For maximum protection, use blackout or thermal curtains especially if your interiors are exposed to lots of sunlight during the day. Another alternative is UV film or tinted windows. These can limit the amount of heat and light that can pass through the windows.
How to Clean Vinyl Plank Flooring
Daily Cleaning
Regular cleaning is also crucial to keeping your vinyl plank floors looking as good as new. For daily cleaning, wiping and mopping will usually leave you with a clean surface.
A quick run with the vacuum ensures a thorough clean that doesn't take up too much time. Use a vacuum cleaner if you don't want to spread dust around or you want to clean while you are doing other chores. Robot vacuum cleaners like the Dreame D9 can do the job in a few minutes, giving you sparkling floors in minutes without you lifting a finger.
Deep Cleaning
For a deeper clean, you can wipe the floor with a mop or rag moistened with water and dish soap/ detergent solution. This helps remove dirt, grime, and stains that may have hardened on the surface of your vinyl floors. You can also spray the solution on the floor, provided that you use a neutral detergent diluted in water. This is often enough to clean your floor and keep it in top condition for the coming week.
If you want a more organic cleaning option, swap the dish soap with white vinegar and dilute it in water. Use this for mopping or wiping the floors to remove tough stains and dirt. This vinegar solution also leaves your floors with a clean scent and a lasting shine.
If you want to make sure that you are using safe cleaning solutions, check with the manufacturer. They may have recommendations for specific cleaning solutions that will work best with your vinyl flooring. It is also important to note that you should avoid using abrasive mops and streams when cleaning your vinyl floors. Abrasive brushes can leave scratches and will thin out the protective layer of vinyl planks. Steam cleaning is also a big No-No since most vinyl plank materials are not meant to withstand steam.
How to Make Your Vinyl Floors Shine
How shiny your floors get depends on the kind of finish you have. If you have vinyl floors with a matte finish, your floor wax or polish can only do so much. However, if you have flooring with a glossy finish, you can achieve sparkly shine with ease.
A quick and easy way to make your floors shine is to use vinegar and water spray to clean your floors. Wipe dry with a microfiber cloth to buff out mop marks. If you want to see your reflection on the floors, you can also opt for floor wax made for vinyl flooring, which you can easily get from most hardware or home stores. Just make sure to clean the surface thoroughly with a soft broom. You can also use the Dreame D9 for vinyl plank floors to remove all dust and dirt before you start polishing.
Regular and careful cleaning can keep your vinyl plank floors as shiny and as scratch-free as the day you installed them. Just remember to use the right cleaning tools and to set your expectations according to the type of flooring finish that you have. With properly-installed vinyl flooring and regular cleaning, you can keep your floors shiny and clean for years.